Project
Fixed-wing drone
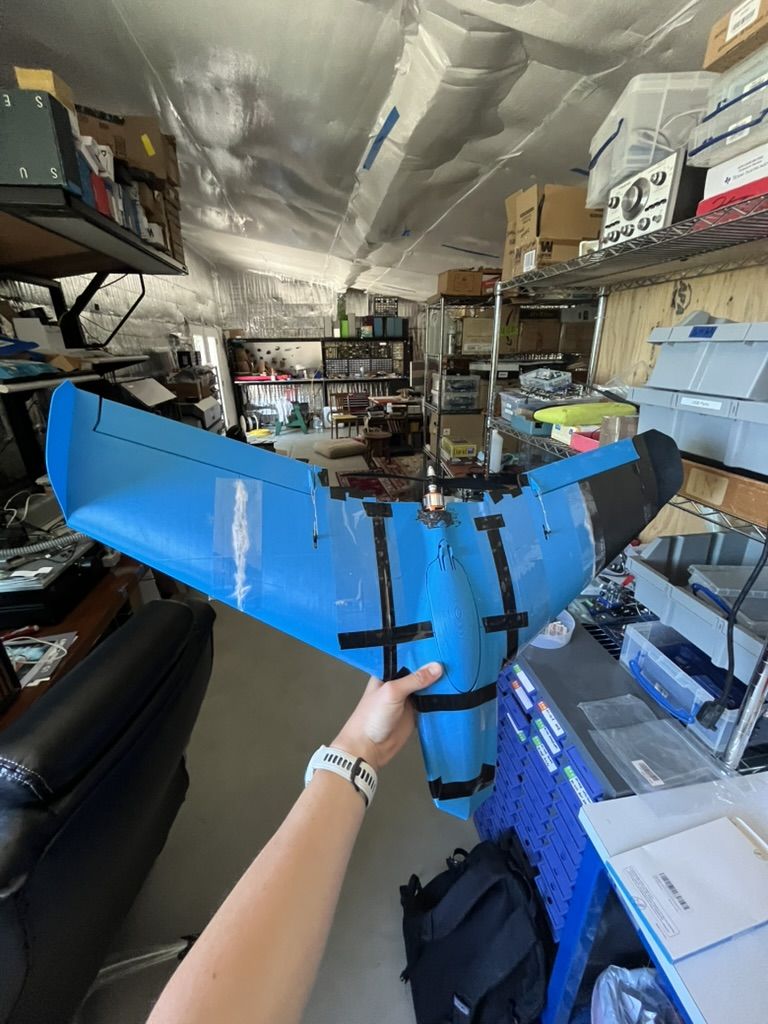
My mission at Koliada in summer 2026: build a drone that can map an area from the air. The drone took about nine days of work, spread across the internship around everything else (including fixing the 3D printer, more than once). This is the first prototype.
Printing it
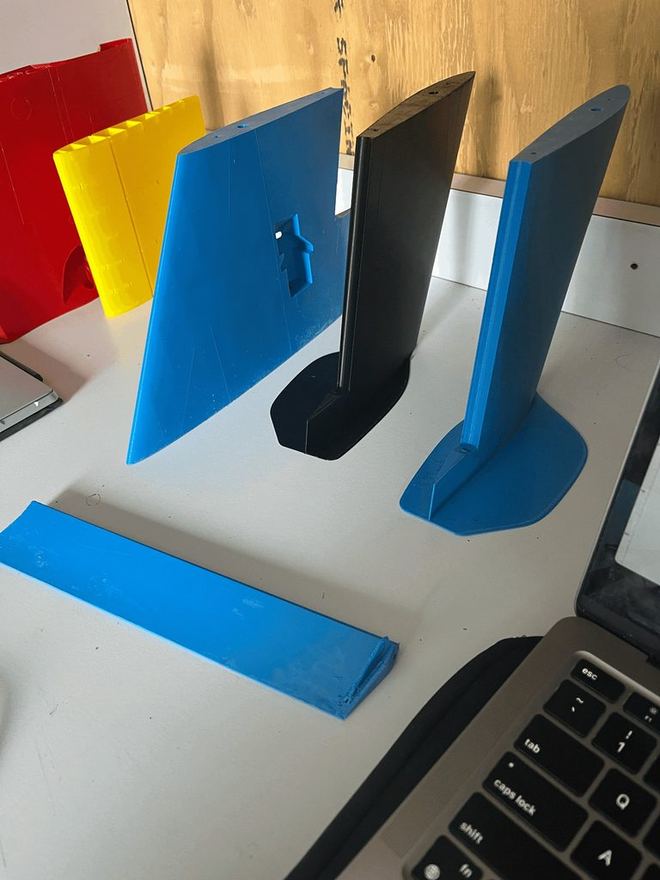
For a first prototype I wanted something small that would just get airborne, so I picked a printable flying wing called the GASB One. It's easy to print, has one motor and only two control surfaces, flies stably, and comes apart in pieces, so it's easy to repair after the inevitable crashes. It's nine printed parts, each four-plus hours on the office's Bambu X1-Carbon.
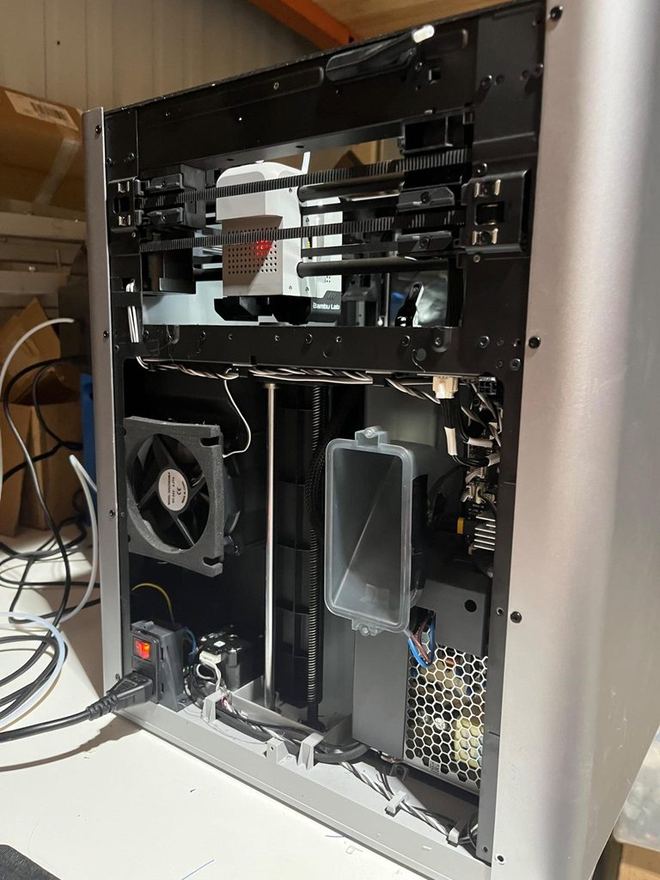
Halfway through one part the spool ran out, and the only spool of the same filament type was blue. That's why my plane is blue with one black piece. Then the extruder jammed, and it took two hours (and taking apart half the extruder) to pull the stuck filament out. Later, a force-sensor error stopped all printing for almost a week, until I opened the back panel and found a cable getting tugged on every print. Once the parts were done, I sanded them: 400 grit to rough up the surfaces that get glued and clean off misprints, then a very fine grit all over to make them smoother in the air.
Wiring it
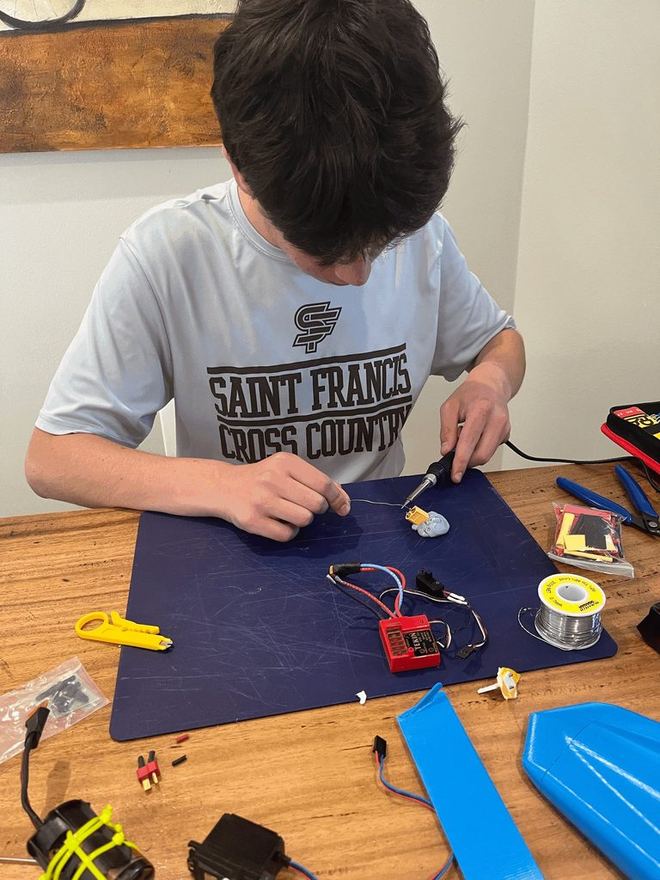
To save money, I gutted an old, broken foam RC plane for its two servos, its ESC (the speed controller) and its receiver. That didn't work out. The receiver was dead, the ESC couldn't take my 7-volt battery, and the servos were just too big to fit in the wings. The little motor I'd started with wouldn't run either. In the end, every part in the plane was new.
I soldered a new battery plug onto the ESC and wired it to the motor. Then, plugging the ESC into the receiver, I got the cable in backwards: a spark, a puff of smoke, and one dead receiver. Red goes with red.
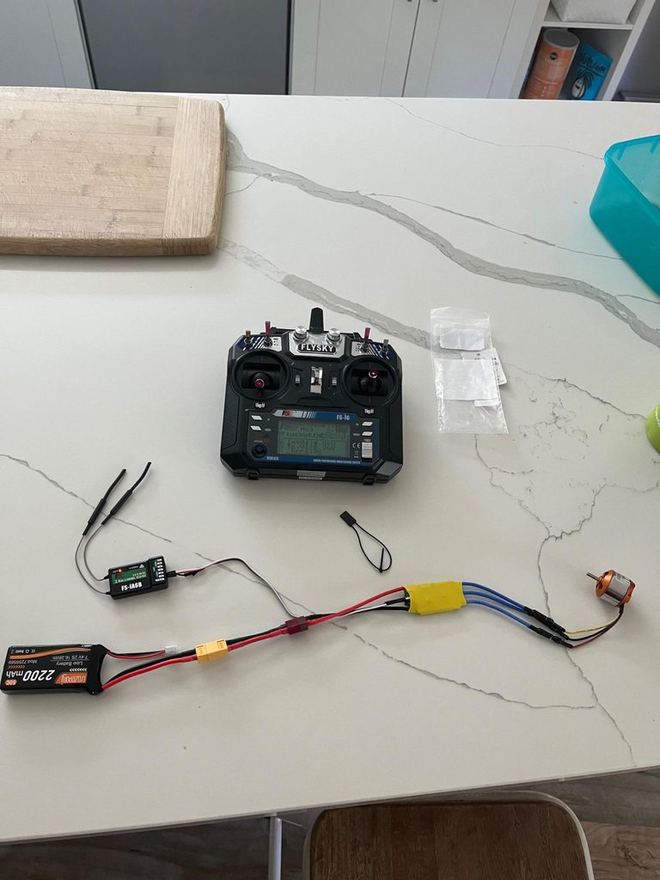
A flying wing only has two control surfaces, so they have to do the work of both pitch and roll. I set up elevon mixing: pull back on the stick and both tilt up; push it sideways and they tilt opposite ways.
Building it
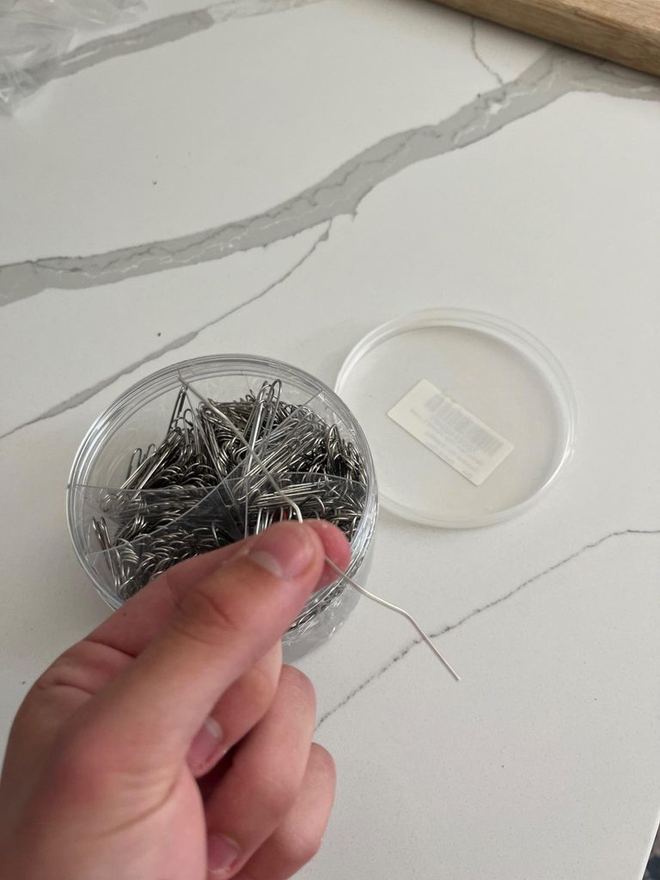
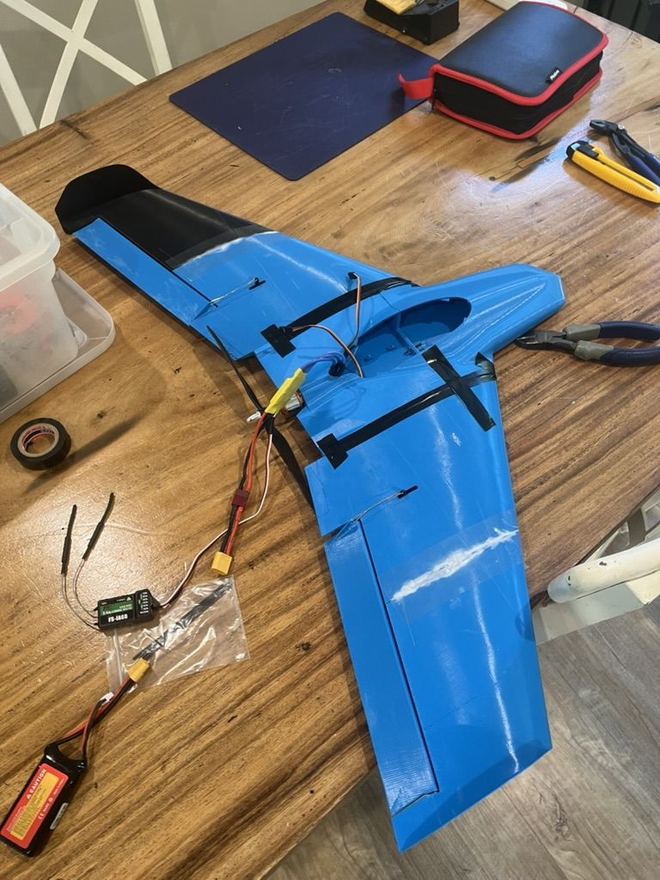
Carbon rods (4 mm and 2 mm) glued inside the wings keep them stiff. I wrapped the servos in tape before setting them in, so I can take them out and reuse them later, and connected them to the elevons with paperclips (my budget was running low, and if it works, it works). A 25 cm propeller went on the front, and a lot of tape went over the gaps.
Crashing it
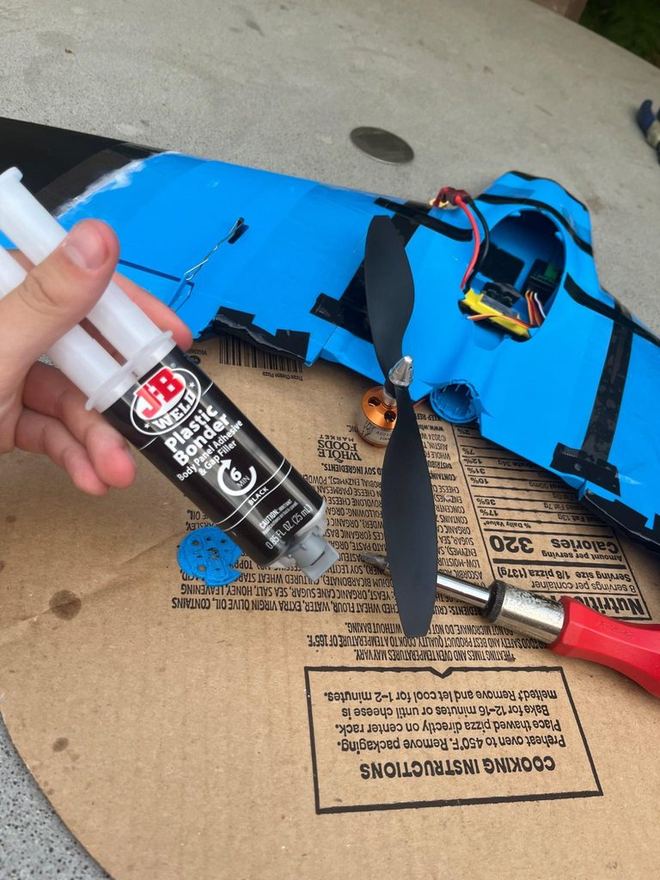
First flight: an evening at the park. I threw it as hard as I could with the motor at full power. It climbed for about a second, then nosedived into the ground and snapped the motor off its mount. I epoxied it back on overnight, then threw it again the next morning without the motor to see if it would glide. It crashed even faster and broke off a wingtip. More epoxy.
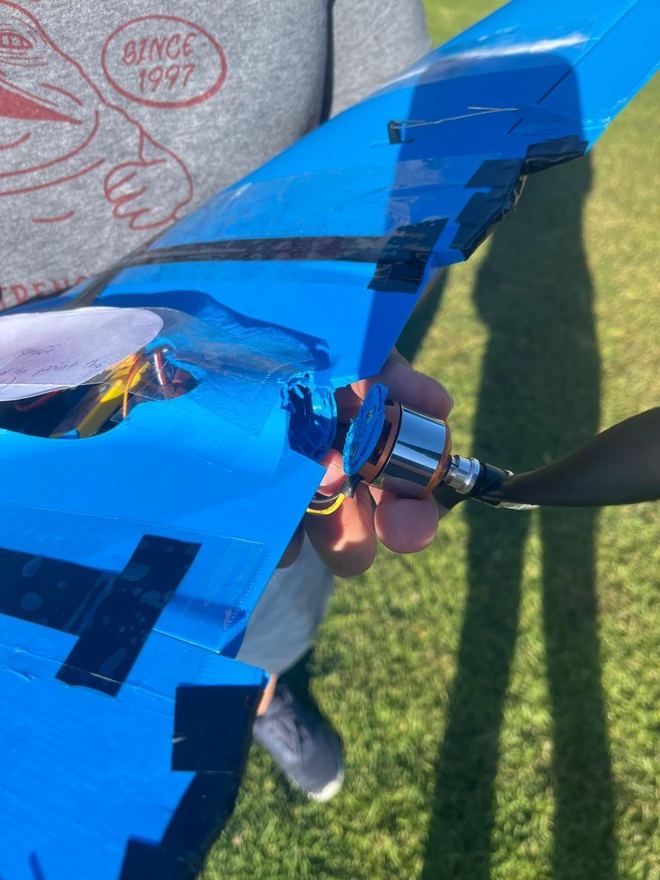
The problem: the center of lift (marked right there on the 3D model) was well behind the center of mass, so the plane was nose-heavy. The propeller was also rubbing the side of the motor.
A cardboard wind tunnel
I wasn't going to throw it at the ground a third time without testing it first, and I didn't have a wind tunnel, so I built one. I tied a bowline around the plane with rope from my Scout kit (finally, a real-world use for all those knots), hung it in front of a giant fan, and boxed it in with cardboard to aim the air at it.
The first run did exactly what the real flight did: the nose dropped right away. I moved the battery back and tried again, and kept moving parts around until I'd swapped the battery with the receiver and flight computer. Then it hung level in the airflow. It wasn't exactly NASA, but it worked.
It flew
With AI's help, I wrote stabilization code for it: I'd fly the hard parts (climbing to altitude and landing), and it would keep flying on its own whenever I let go of the controls. Up in the mountains around Koliada, I let go, and it flew itself straight for about a quarter mile before I took over again and turned it around.
What I learned
- Check the balance before you throw it. Balancing it at the center-of-lift mark first would have caught the nose-heaviness, and saved a motor mount and a wingtip.
- Red goes with red. A smoking receiver is a poor use of funds.
- Scavenged parts aren't free. Every part I salvaged got replaced, so trying to save money mostly cost me time.
- Take care of your tools. Almost a week of the internship went into fixing the printer instead of building the plane.
What's next
The code was on a flash drive I've since lost. When I pick this back up, I'll build the Moose, a bigger printed design I picked for its payload capacity and efficiency, rewrite the code (and back it up this time), and mount a LiDAR sensor to finish the original mission: mapping an area from the air.
Thanks to everyone at Koliada for letting me crash things in the name of science.